
This was originally my build thread in Track-link running from 12/19/2019 to 1/28/2020.
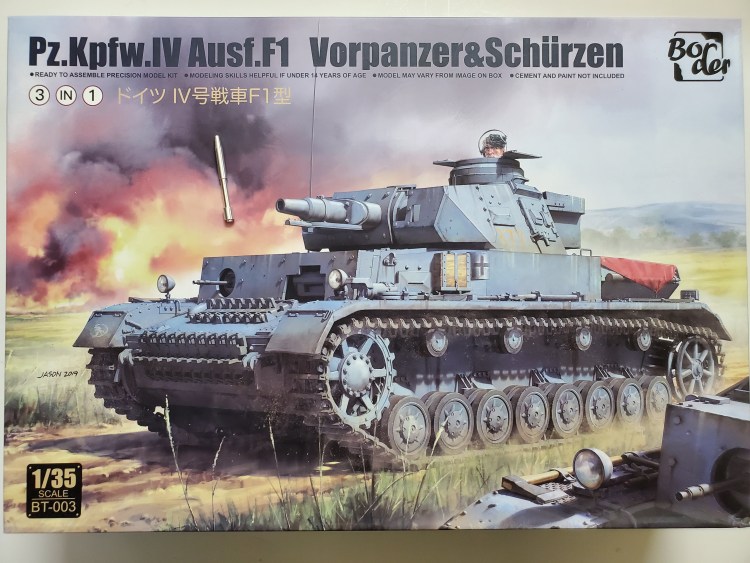
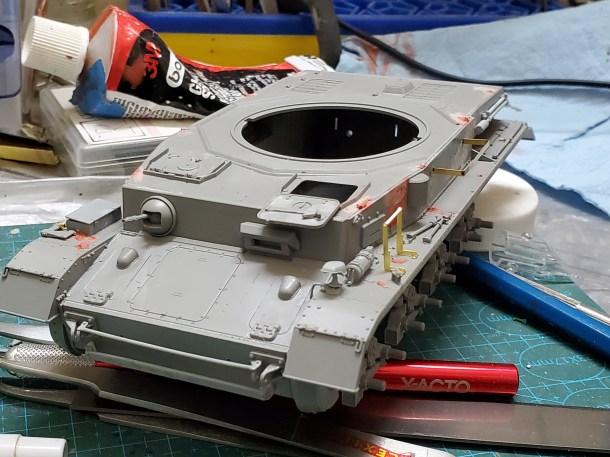
With the success of their Panzer IV Ausf G., Border Model released the first variant F1. This is a 3-in-1 kit, allowing modelers to build one of the Vorpanzers, Schürzen and regular variants. I primarily chose this for Vorpanzer since Dragon’s kit was long out of production, but ended up buying 2 and building the first one for the photo contest in a modified F1. The first release of this kit comes with metal barrel and a resin injured commander.
The kit has a new sprue N for the various F1 configurations, and I have previously build reviewed their first G kit (https://codyscoop.com/build-review-border-model-bt-001-pz-kpfw-iv-ausf-g-mid-late-panzer-iv-g). As with the kit before the key highlight of this kit is the ease of build, as you can get a near-Dragon-quality kit with less tricky assemblies. However because this is very much based on the G kit, there are some amount of work to modify parts.
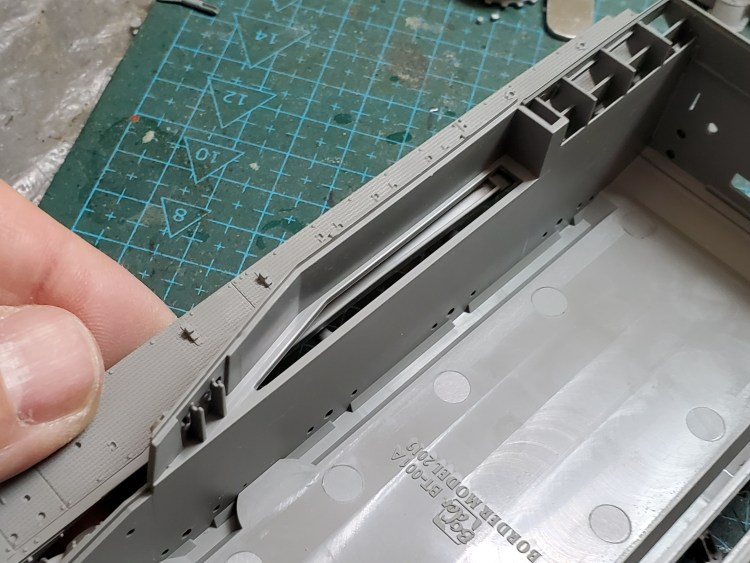
Compared with the G kit there are two new sprues P and N, with a reto Ausf F1 cupola on the P sprue and various custom pieces on N. There is also a small PE fret for the step ladder. The turret is also new.
The instruction booklet has photos of the 3 different versions of Ausf F1s. I really like the track-craze winter vehicle and so I decided to do this vehicle for the photo contest.

I’ve finished the basic build and this vehicle has quite a few modifications and not a regular F1. More on that later. Here is a very brief review of the new parts.

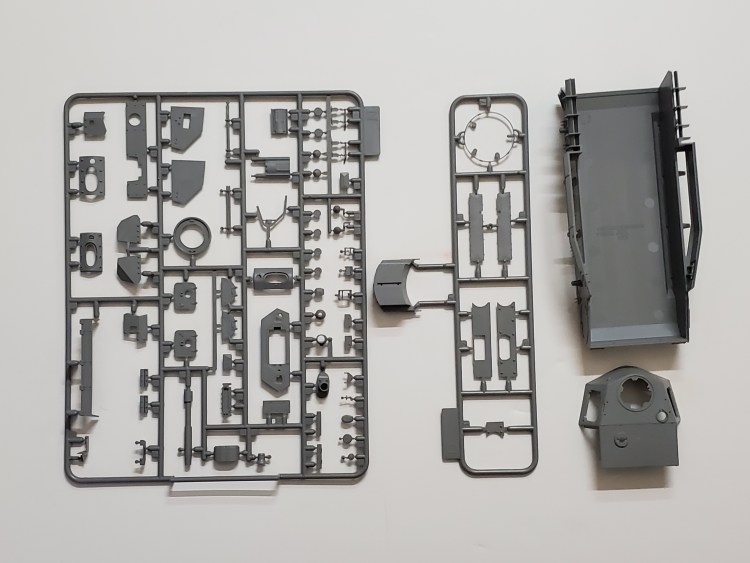
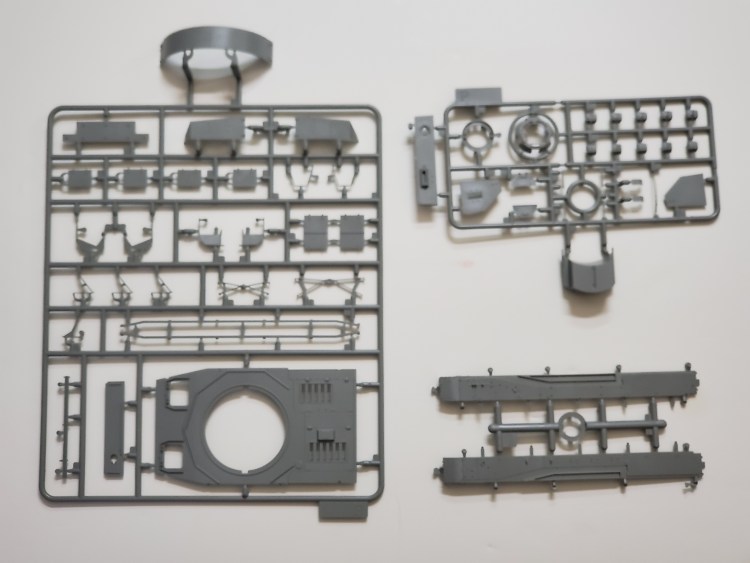


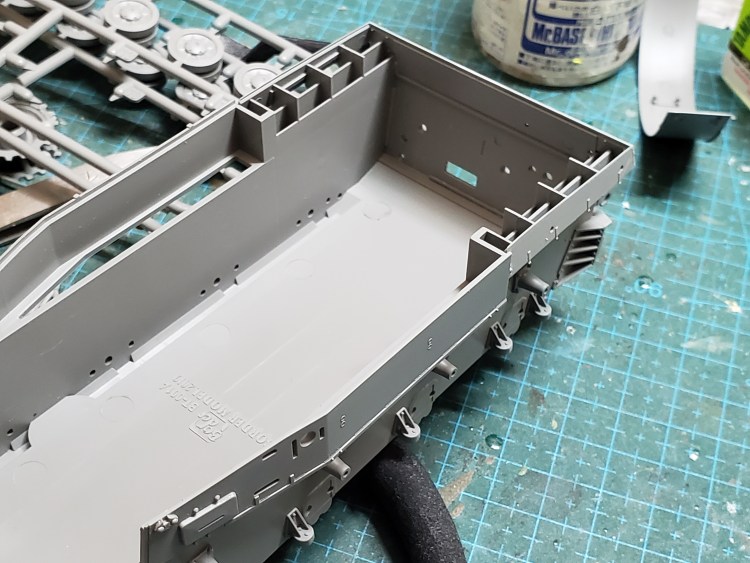
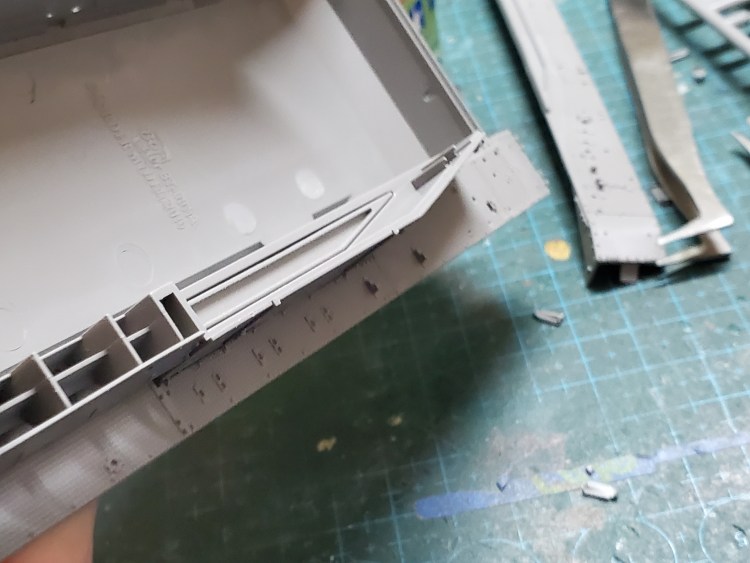
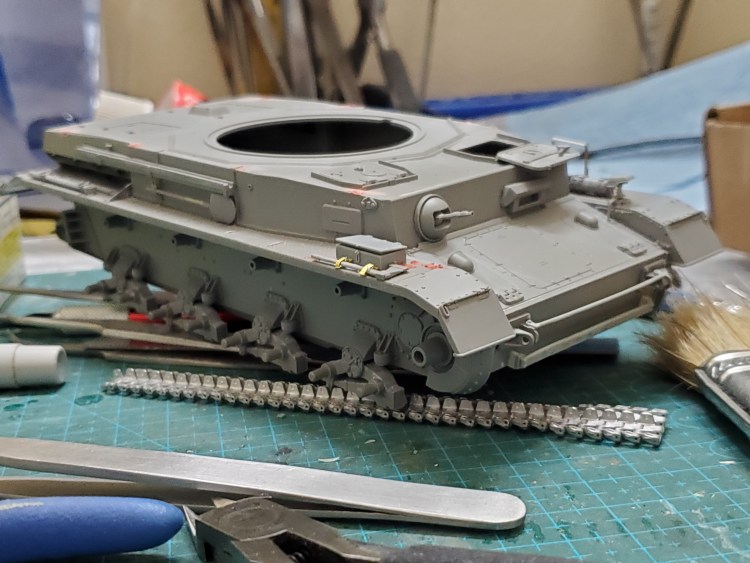
As with the G kit, their step 1 is the insane PE engine cover on nothing step. Unless you decide to cover up there is little point to add these pieces at this stage so skip over to assembling the exterior.

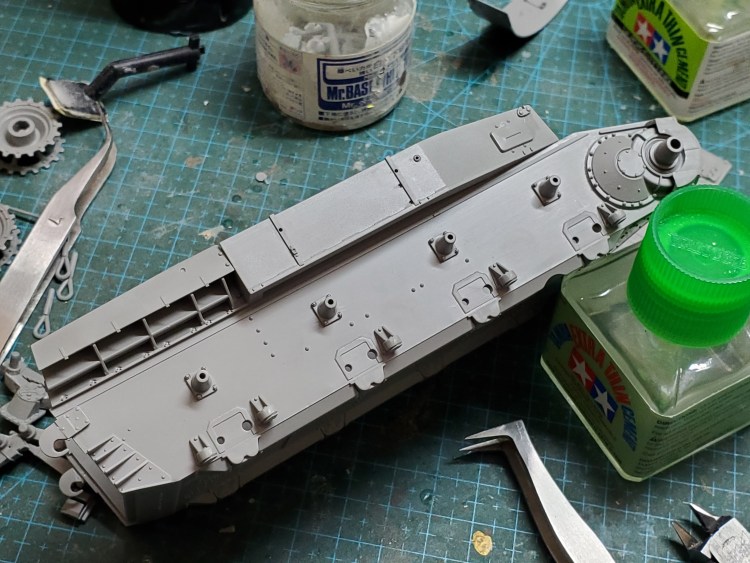


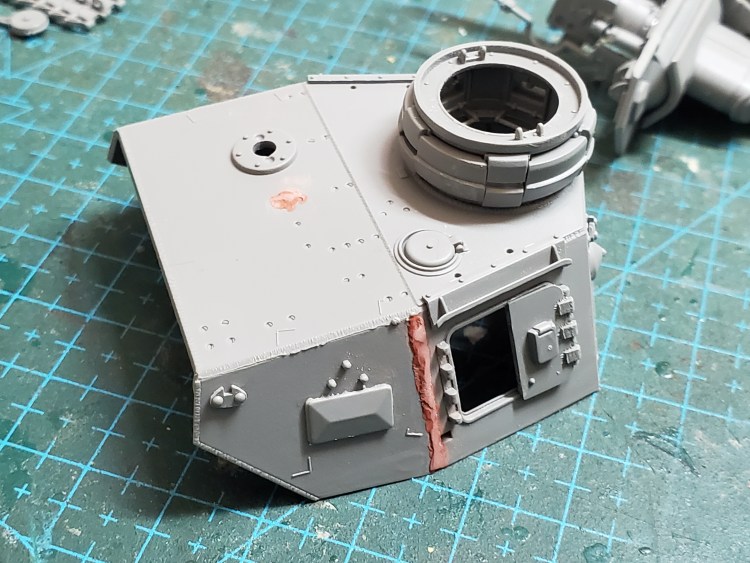
The turret is still the weakest part of the kit, with a hatch hinge detail missing. One of the new misstep is the customizable turret side armor. Because Border wanted to offer different variants with some having vision port and some don’t, it gives you the option by allowing you to choose the side armor you want. The instructions did not use the parts without vision ports, I think they were deleted later.
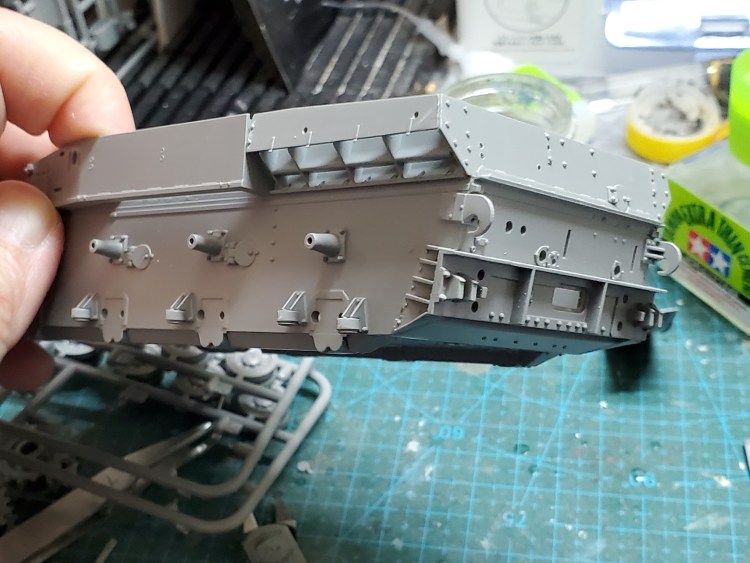
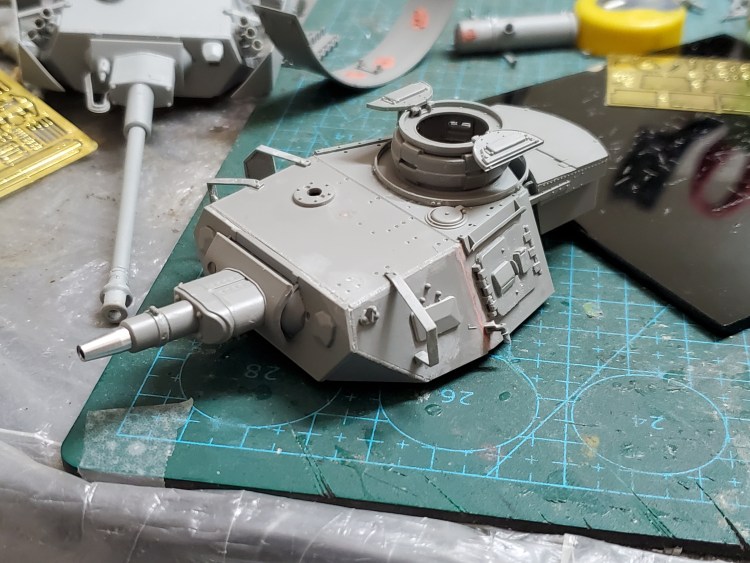
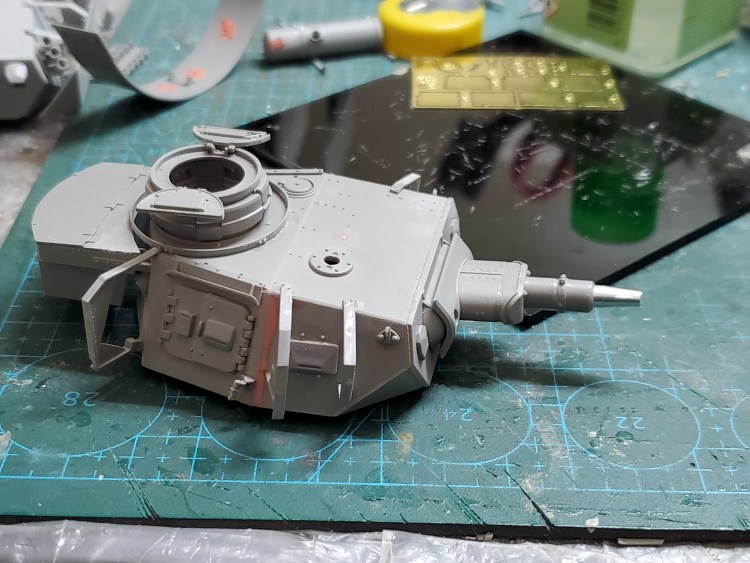
The downside is that the fit of the parts wasn’t stellar, so I needed to putty up the gaps. Here as before there are tiny ejector pinmarks on the kit surfaces (like that white dot in the middle of the right hatch door. The kit has no clear parts so the periscopes in the cupla are blanks. It doesn’t bother me but YMMV. With the cold weather I think it’s reasonable to button up the turret even though the photo didn’t show whether it was open or close. The gun breech has reasonable amount of details, but the turret’s interior is rather featureless. The metal barrel is very nice with rifling inside.


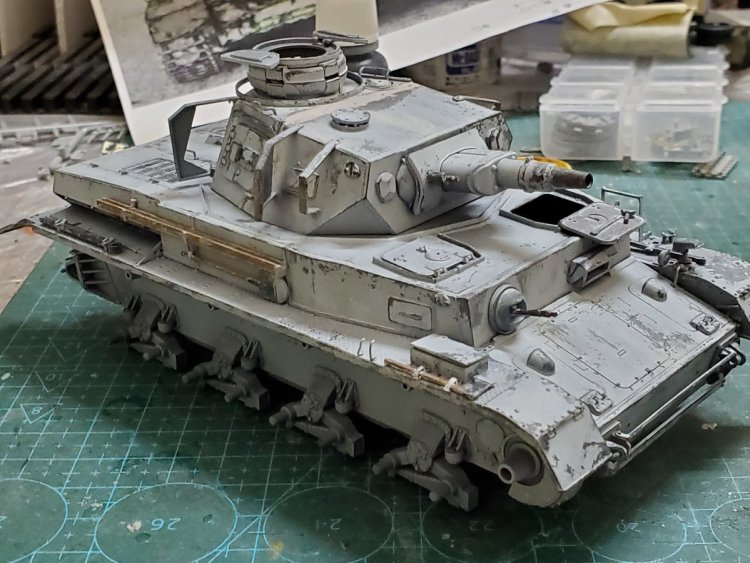
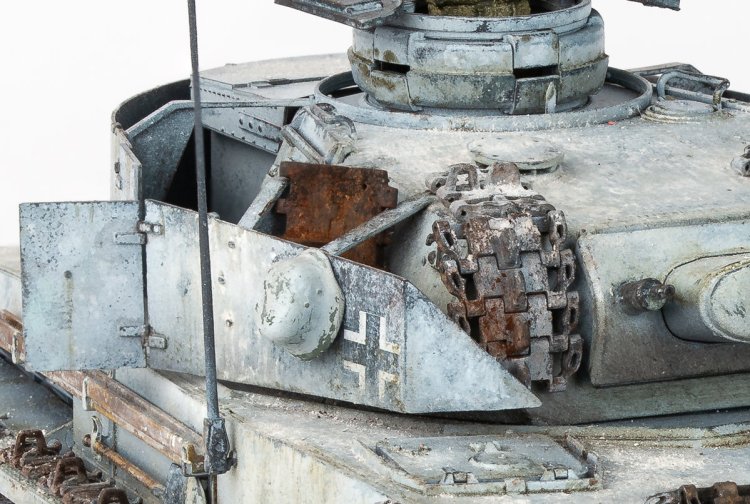
The orange bars I think were indicating they put two rows of tracks in front of the hull. It’s a bit extreme and the rows have to overlap for that to happen, and the resultant space allowed snow and ice to accumulate.
The yellow circle indicates the driver’s hatch was open. I agonized over the lack of any interior to show here. At this point I think only CMK offers a Pz IV interior.
The green are spare wheels. There are three main ways for wheels to be stowed, with the more common way using a trapezoid bracket which doesn’t seem to be the case here. I opted for the minimalistic welded bracket using a piece of spare PE extra.
The purple is a notek light that replaces where the Bosch light should be; its support platform was covered in snow but I think it was probably the regular mount so I grabbed one from Dragon’s spares. Of note is that Border’s Notek lights seems to not fit very well as the tab on the light’s supoort didn’t go completely fit the corresponding trough.
The blue areas are what was hardest to make out. It seems to have lost its S-hooks and we can see the remaining bracket. Beyond that it seems there is a white structure that props up something. I’m making a guess here, and I was not able to find another vehicle that did this, but I think it was a repositioned step ladder, and there were some rolled tarp stowed behind it. I wasn’t completely in love with the tarp idea, instead I think perhaps there were some helmets given their shapes.
The white was the cupola guard I was talking about. I forgot to mark it here, but on the left turret there was a dark rectangle, with Missing Lynx’s help it was pointed out to be a jerry can. There was also the remaining Schurzen bracket in front of it (though the thinness suggested it was behind, but the only bracket that looks like that is the foremost). And there were yet more spare tacks laid in front of the bracket.
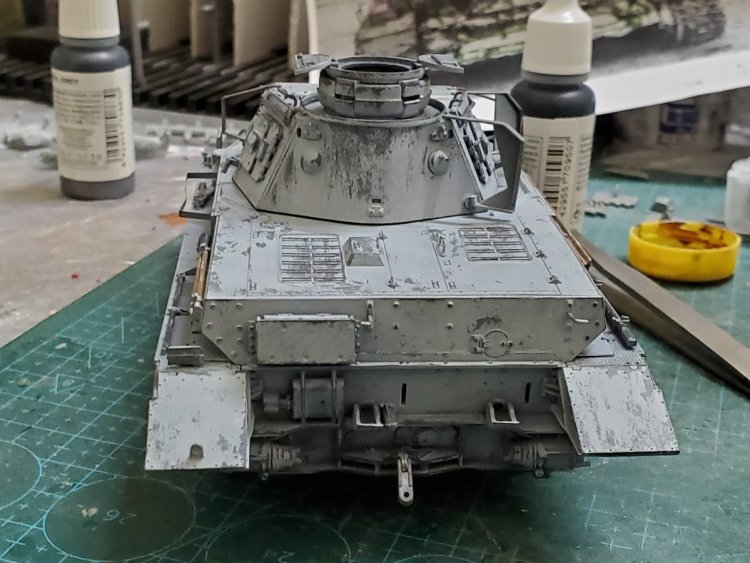
To the right side of the vehicle…

The blue line is where the right turret Schurzen remained. I originally thought the hatch was open, but it appears to be just large amount of stowage put there. Perhaps the crew tried to put all the stowage that was on the left over after the left Schurzen was blown off. I’m debating whether the back Schurzen was there or not as you don’t see it on the left. However there were some dark shadows behind the stowage that led me to believe part of the back Schurzen was still there.
The red marker points to a whitewashed helment being hung on the Schurzen.
The purple marker points to a couple of bent metal sticking out. They looked llike either some custom structure to hang Schurzen on, or parts of some ladder. What is it really?
The green marker points to a tool box set in front of some spare tracks. I think the axe is still there laying side-by-side with the box. The jack was missing, and there appear to be some stuff stowed further back I couldn’t make out of, but otherwise the left fender seemed quite barren.
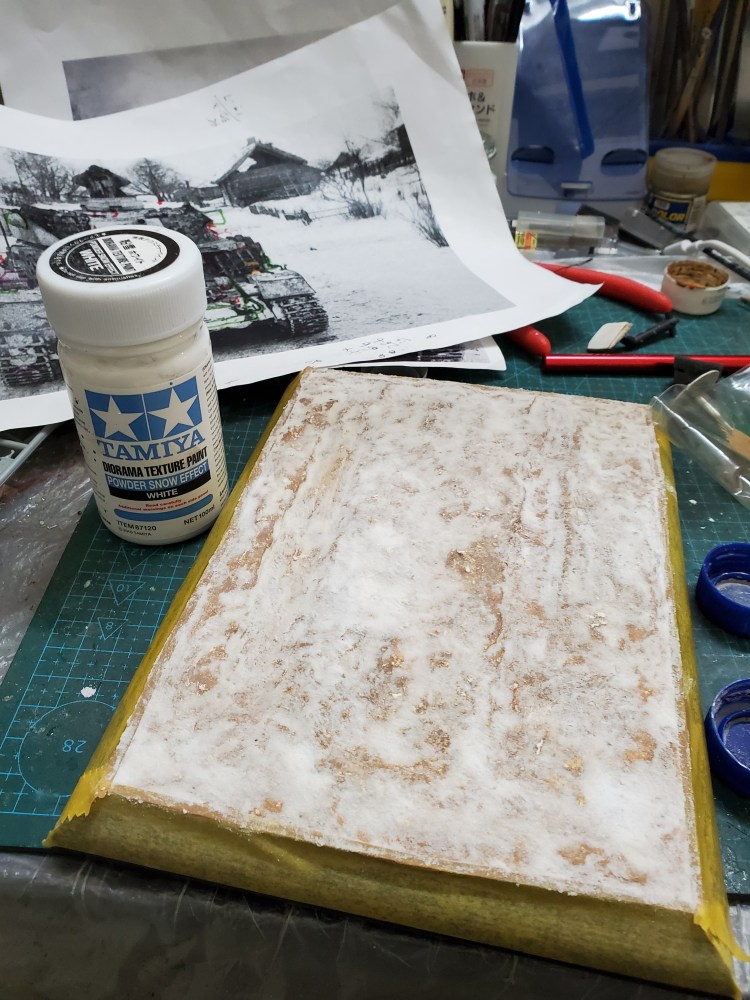
Still couldn’t figure out some of the stowage but decided to go ahead with painting. I base coated with Mr Mahogany surfacer with some patterned blacks, put on a lightened MM Panzergrau and chipped all over to prepare for the whitewash. It wasn’t clear if the vehicle had any markings, there seemed to be a Balkenkruez on the remaining Schurzen so that’s the only decal. Also painted the tools.


Final thoughts:
This has been a very long process, including a lot of research in the beginning to identify the various items and their placements in the photo and building the kit to spec. The kit itself also needed work, for an F1 it is not very accurate, especially on the turret details. For example, Tom Cockle pointed out there was the step armor on the roof which did not exist on F1, so I had to remove that step post painting, creating more work. Its turret interior is very barren, which made it not ideal to pose with the side hatches open. Despite the lower price and easier build, I’d only buy this kit if I were doing
the Vorpanzer version since it is the only game in town.
On the painting side, there was quite a bit of experimentation to get the vehicle to whitewash to a state I like, then depositing pigments by layers to build up snow. I found that filters were especially important for whitewashed vehicles as the stark colors lack interest, the different filters brings the color hues back.
Building to photo reference is a lot of fun and I really enjoyed the build. The final photos are going to be in a separate post.