
Released earlier in 2020, this Takom kit is one of the first Panzer IIIs that re-attempted to break Dragon’s stronghold on the line. With Takom however their build tried to be simpler and more Tamiya-like, let’s see how it holds up. Finished gallery images are here.

The kit includes marking for the very well-photographed “421” of Pz. Pgt. 15 in Kursk. With some readily available references here I’ll build this vehicle.

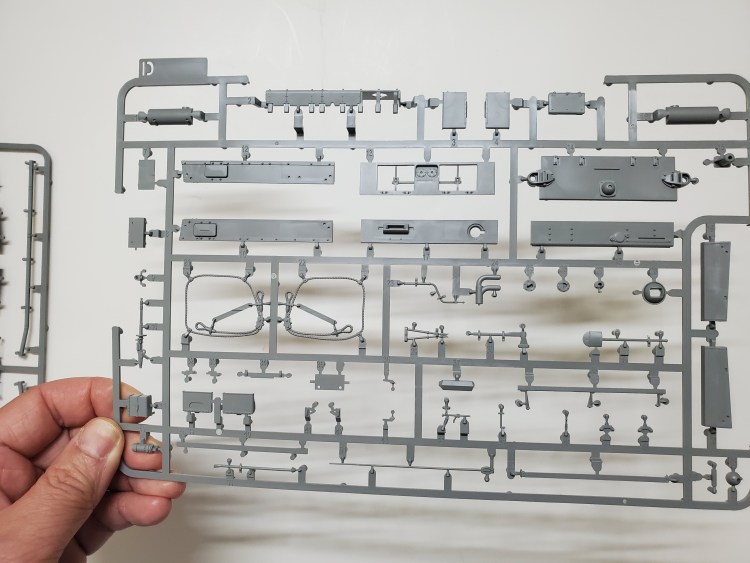
Not much point in laying out the sprues but I’ll point out a few features of the kit. My expectation for the kit isn’t very high as I read that it has some fit problems and the level of details is compromised for quick-buildedness.
As everyone has noted the box is small – it is the size of the old tristar/hobbyboss 38(t). One thing I note of these new moulding is that they identified one problem with Dragon kits, which is the main assemblies are somewhat tricky, so their focus is to cast those into one piece. This reduces the difficulty of the kit, but not necessarily time, since the various details still needs to be put on.


I’d also recommend leaving D41 and D42 off until you put the upper and lower hull together as the fit could affect whether your fenders would sit properly or not.
The tow eyes C10-13 fitted very loosely on D14. I also find this a feature of the kit, that the female parts of a mating surface are often wider than the male part, so you get a lot of play. This is rather strange.
Will deal with the tracks after I have the lower hull painted. Now I’ll skip forward to the upper hull.


Other than that the upper and lower hull fits really well together, which is good news.
The tracks were your typical link and length tracks, the instructions had single links running along the sprocket and idler wheels and they were 10 pieces each EXCEPT for the left front which had 11. This makes the left track to have one extra link which is weird.


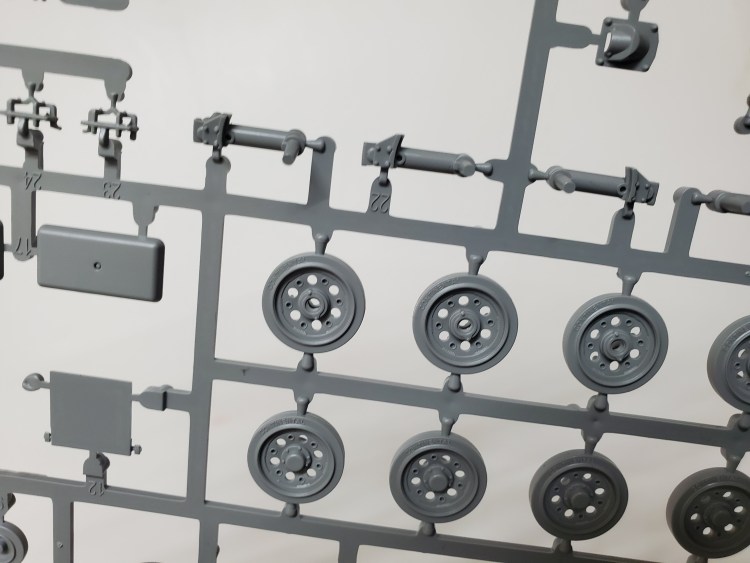
The details are generally more coarse than Dragon or even Border. The lifting hooks are pretty thickly molded for instance. The tool clasps had their handles molded in solid plastics (similar to how Border had theirs), I’m going to replace the visible ones with the MJ’s. Someone still need to create good 3D prints for the jack brackets,not that Dragon’s were stellar but at least they were not as thick as in this kit.
Make sure you drill out the appropriate holes on the superstructure pieces for the Schurzen brackets if you want them.
To be honest I’m not a big fan of Schurzen – they make the kit more difficult to handle during the building and painting process and they obscure a lot of details in the final product. Anyway I’m going with them here, and I installed the brackets.


The kit has no clear parts. I don’t mind it for the cupola and driver’s window, but if you have side hatches open like I do, A50’s observation block would have an empty hole which is a bit unsightly. I may replace them with spare Dragon’s.
The turret MG E22 also required drilling out the nozzle. It seemed a bit oversized if you compare it with the hull’s.
The turret had several fit issues. The fit between E43 and E34 leaves you with a gap, sanding down the raised guides on E34 would give you better fit. Same for E33 and E7. The mantlet armor is a tricky 4 piece side-by-side assembly, if you run quick-setting along each edge and build them one-by-one, you can get away with no filling. The fit between the turret top and bottom are always tricky with that triangular fit, in my kit the tips of these triangles on part E36 were not sharp enough to fill all the gaps in the final assembly so I needed to fill them.


This “421” had a camo scheme that had “patches” of green and brown on the Schurzen, so I’m replicating that onto the main body. I used Tamiya’s red oxide primer as base, did hairspray and put a coat of MMP-019 Dunkelgelb on top. Then I sprayed another layer of HS and put Olivgrun and RAL-8017 on top. The one thing I don’t like about MMP for this application is that for very fine sprays it doesn’t do very well because of drying tips, and they have no retarder. However I’ve read someone deduced MMP has the same formulation as Createx paints and the latter has a retarder in their line. Anyway I had a lot of trouble freehanding this camo, but I lived. Then I did a round of light chipping and filters. I’m developing a workflow where I modulate with filters and oils.

I want to highlight the fact that Takom has definitely improved on their decals. They still have these matte surfaced printings but the film appeared to be thinner than the other previous Takom kits I worked with, good job.
For this kit I’m using Miniart Panzer crew 35167. I’m a bit unhappy with this set because the seam lines of the figures’ heads are in the middle of their faces! Also the quality of the face sculpts are quite variable, with some figures having big lower lips. Anyway they aren’t resin figures and they don’t cost like resin so you learn to live with it. This set has the requisite side-sitting crews. While the left figure was fitting quite well, it’s not clear why the left figure’s left hand was posed pressing something, so I had to modify it to be grabbing a hatch door. I think they might have designed these for Panzer IVs and for Panzer IIIs they don’t completely fit, if I were more serious about the build I’d have to change their poses more. Not this time…


I usually do figures last but for this kit the figures need to be painted and seated properly before I get the turret Schurzen on, so I processed the figures here. I’ll try to do a bit of step-by-step this time. I’m also preparing another couple of figures for a Maus kit so I included their painting here.
First I painted the figures in base colors. I mixed Tamiya flesh, white and deck tan into a pale flesh color that I airbrushed on, and the uniforms I handbrushed with Vallejo paints. I found their German tank crew highlight I color quite suitable for the tank crew shirts, giving a grey with a blueish hue.

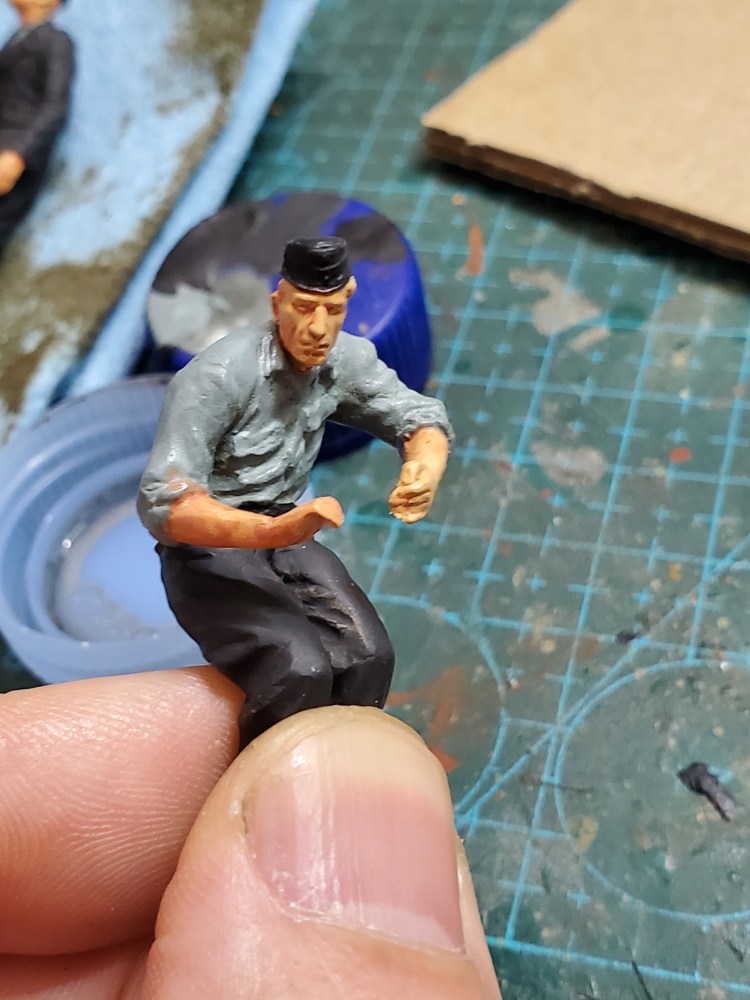


I also used oils to drybrush their uniforms as it allowed more control and blending so that you don’t get stark ridges. It took the weekend to do all 5. I always dreaded doing blondes because I always got the color wrong, but this time I used Vallejo Japanese uniform as base coat and drybrushed Abt. 502’s light sand colored oil which is a creamy yellow on top, it looked convincing enough that I did 3 blonde figures this time. Another interest observation I’ve made this time is that often figures’ hands appeared oversized, that seems to be caused by overly accentuated shadows between the fingers. By doing it very carefully this time I think the hands were mostly in-scale, although the Miniart hands were still a little crude.


I finally opened my MJ Minature’s tool clamps to give it a try. They indeed are very fine and truly match the thickness of PEs.

There are two issues working with these: how to get them out of the base and how to install them onto the tool.
The plastic used to mold these are not brittle. I used the Tamiya 123 sprue cutter carefully and I managed to not break anything. Others mentioned razor saw, which would definitely be a safer option.
One thing that was not mentioned is that the package has clamps with 2 sizes. The smaller sized one is good for tool handles, I worried about them being too loose but indeed they’re just right. The larger one can be used for wire cutter.
On certain tools you can’t just slide the clamp in, such as the crank. In that case I cut open the clamp’s bottom which is invisible and still slide it in from one end.
I managed to break one of the handles, but they can be replaced with voyager’s handle set, no problem at all.
They look every bit as good as PE with a lot less work. I have a lot of Griffon PE tool clamps stocked up as they’re the best of the bunch, but I don’t see myself using them except in emergencies, like when you order another 3 boxes of these MJ clamps and DHL delivered them to your neighbor, which happened yesterday #$!$ I suppose the main downside is the cost, as per-package there are not a lot of clamps – 30 small and 30 large to be exact – and already this Ausf M. only needs 6 while other vehicles may need up to 10.
After installing the OVM and did a round of OPR on the hull, I added pigments on the lower hull before installing the tracks and wheels. Remember earlier I mentioned the tracks were longer on the left than the right… it bugged me so I was anxious to see how it played out.

I think they probably got it wrong, it should have been the same on both sides, meaning 10 links on each of the sprocket and idler wheel sections of the tracks. With some super glue and bending I got the tracks to stay with the wheels. I haven’t weathered the wheels yet, only chipped the sprockets and idler wheels.

One of the special accessory for this “421” is the big storage box at the rear, I made it out of styrene. I got this Dspiae angular sander to get my styrene strips properly angled. I’m not very good at working with styrene and always wondered how folks get straight edges with thick sheets.


Then I did a few rounds of OPR, streaking and pigments on the Schurzens. The Takom decals were really too thick. I couldn’t sand it down well this time due to the camo. There was also a third spare wheel on the left.
For the base I went with Model Scene mat again. With my vignettes I used very small strips of them, with the middle filled with Sculptamold. This “late summer” mat with less saturated grass and rocky ground looks more realistic than my previous Sherman’s base.

To sum up the kit, it wasn’t terrible but the flash and fit really killed it for me. Very good price and looks popular with many Youtube modelers building it. Accuracy is questionable, particularly with incorrect Schurzen for this kit-provided “421”. The spare wheels didn’t seem to have the correct shape. I quite enjoyed the build though now that I’ve finished it. Finished gallery images are here.